I had some time to kill, so I noodled on the display a bit. Pretty simple and yet another checkbox ticked:
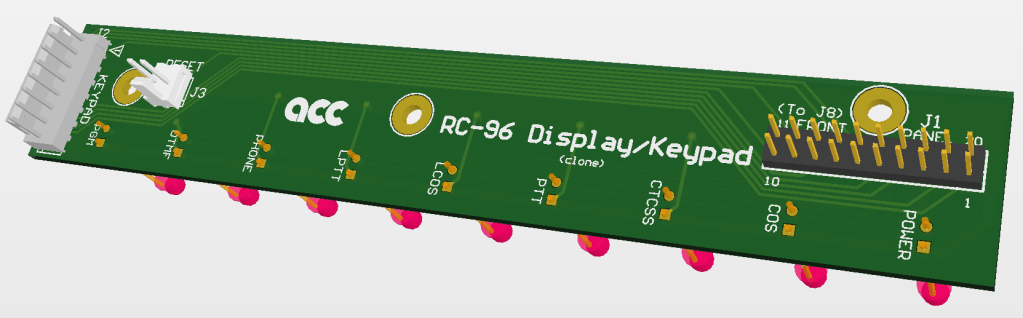
The J1 connector will line up with the J8 connector on the RC-96 in the chassis. Appropriate holes to accept the MTG and LEDs will need to be drilled, then cables to connect to the keypad and reset button (TBD). The J8 cable would be a standard IDC-ribbon cable crimped to fit.
The membrane keypad I got was less than stellar. I’m not a fan of them anyway, and this one was brand new and had some wonky connection resistances (>50 ohms) which was AFTER dealing with the open circuit on one of the column connections.
I’m now leaning towards one of these:
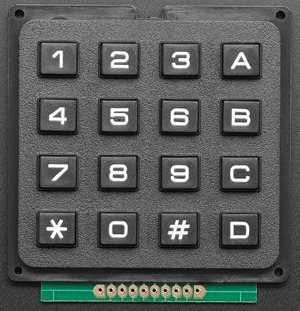
However, cheap is as cheap does, so I might look to see what Mouser has and if I don’t cough up a lung, I’ll go with what they have. This will involve a 3D housing/bezel to give it a “pleasant” look. Not really a big impediment, but it is another cog in the system to manage.
Nomenclature for the front panel is still TBD. I can always punt and use the label printer. Cheesy, but cheap. I have some dry-transfer kits but those require a lot of care to get right. I’d like to pinstripe the front panel, but I just don’t know if I can get that to work well enough. I might look on Amazon to see if there are some dry-transfer solutions that might help with this. Down the road a ways, but I will want to order all of the PCBs at the same time (like the CTCSS Panel) so I want to have the PCB design complete sooner rather than later.

Leave a comment